Robolectric with Gradle and Android Studio
Over Christmas break, I attempted to get Robolectric tests working in Gradle from the command line and from the IDE without the aid of a plugin. This approach was intentional. I attempted to convert a new, empty project to use a couple different Robolectric unit test plugins with zero success. My experience left me embittered against plugins for a number of reasons.
Third-party modules in Gradle are not easily extensible. If something is broken, pretty much the only real solution that’s not a hack is to patch the plugin and wait for an update.
Updates to the plugins come through packaged releases or snap-shots over Maven. Most plugins have very limited release cycles, and so many end up depending on
SNAPSHOTbuilds in the meanwhile that could change while you’re using it!If the plugin maintainer disagrees with your approach, your only alternative is creating a fork of the plugin with a bunch of code you didn’t write and for the most part don’t understand. Not only are you responsible for the code, you’re now also responsible for the new releases, meaning uploading to nexus-int yourself each time you change the code.
Beyond all this, in my experience, most plugins are dependent on particular versions of the toolchain, are in some way broken, abandoned, or impose limitations on how your project is organized. The theory was, if I could write custom code to get this working in my build:
I understand the build process better
I could maintain the build better by not depending on a third-party to update their solution when it breaks.
I wouldn’t have to worry about the plugin being deprecated when AS 1.1 comes out and releases support for unit testing.
With that, here is an explanation of the approach.
Groovy Modifications
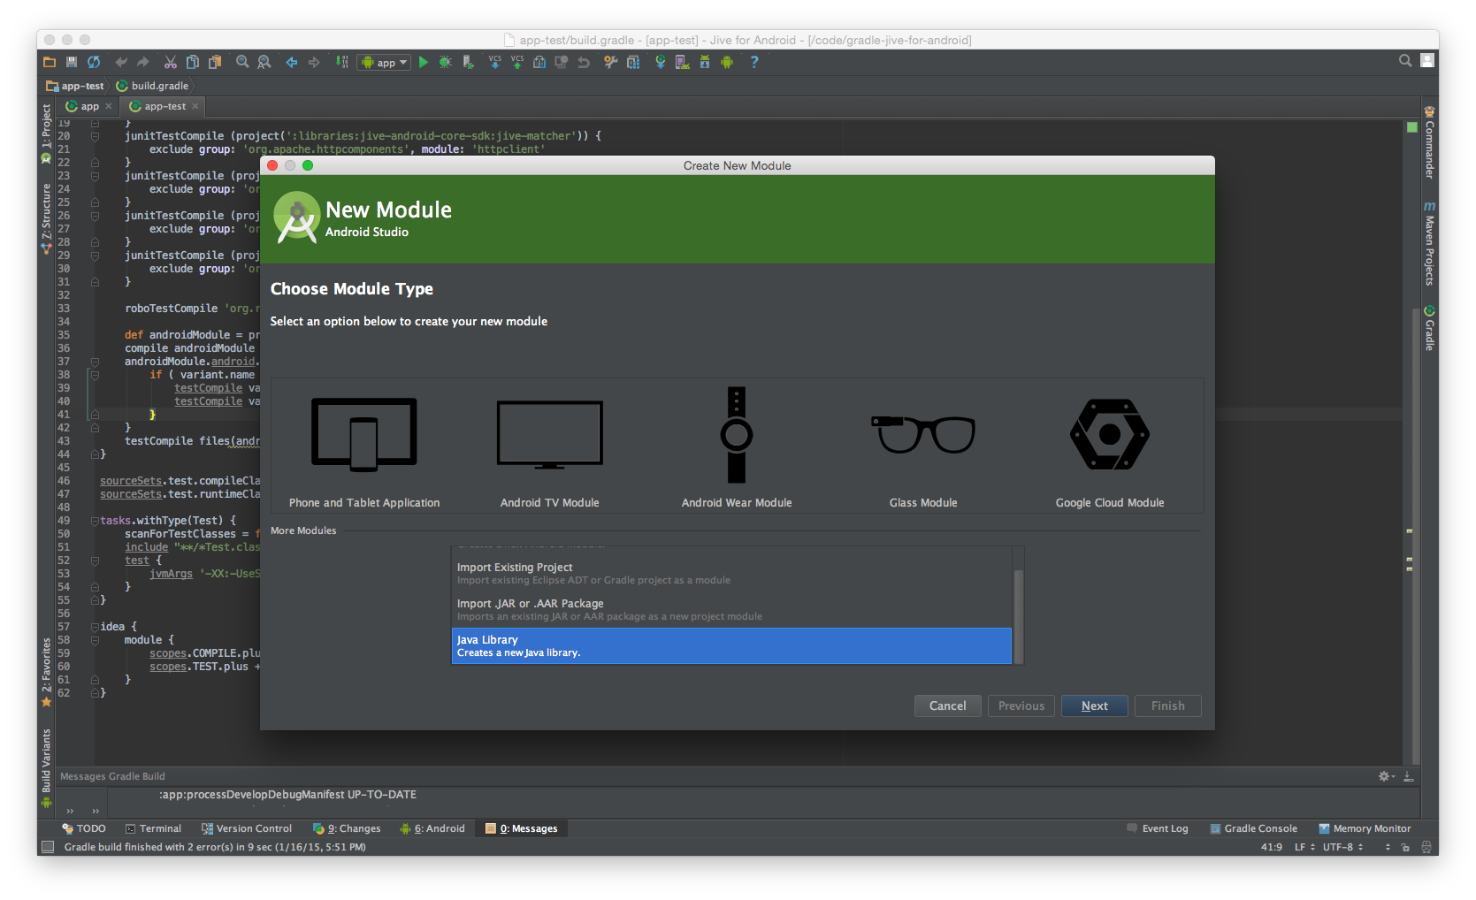
Create a Java library module that depends on the “app” project. “File” > “New Module”
Compile the android project’s classpath, resources, and boot classpath into your jar.
   apply plugin: 'java'

   evaluationDependsOn(':app')

   dependencies {
     def app = project(':app')
     compile app
     app.android.applicationVariants.each { variant ->
       if ( variant.name == 'developDebug') {
         testCompile variant.javaCompile.classpath
         testCompile variant.javaCompile.outputs.files
       }
     }

     testCompile files(
       app.plugins.findPlugin("com.android.application").getBootClasspath()
     )
   }
Make sure Gradle knows to evaluate the app gradle project by using
evaluationDependsOn(). Then compile the three into your app using the testCompile directive.Note the applicationVariants is referenced directly from the Android Gradle Plugin User Guide. An applicationVariant is another name for a flavor. We are making the robolectric tests directly dependent on the develop build flavor. Without this explicit dependency, Gradle and IDEA seem to choose different build variants/flavors as the dependency for the project.
In the last line above we use the android plugin to resolve the boot class path.
Reorder the classpath in Gradle and in IntelliJ to make sure the Android dependencies fall behind Robolectric. Note: these classpaths are for some reason calculated in two different ways!
  apply plugin: 'idea'

  configurations {
    junitTestCompile
    roboTestCompile
  }

  dependencies {
    junitTestCompile 'org.hamcrest:hamcrest-all:1.3'
    // junitTestCompile '<all other dependencies>'
    roboTestCompile 'org.robolectric:robolectric:2.4'
  }

  sourceSets.test.compileClasspath = configurations.junitTestCompile + \
    configurations.roboTestCompile + \
    sourceSets.test.compileClasspath

  sourceSets.test.runtimeClasspath = configurations.junitTestCompile + \
    configurations.roboTestCompile + \
    sourceSets.test.runtimeClasspath

  idea {
    module {
      scopes.COMPILE.plus += [ configurations.junitTestCompile ]
      scopes.TEST.plus += [ configurations.roboTestCompile ]
    }
  }
Modifying the sourceSets directly, we’re able to reorder the classpath. Strangely, this isn’t at all related to the order one declares dependencies, as one might initially think. This is all fine for Gradle. Unfortunately, IntelliJ ignores the sourceSets directive, preferring to calculate its own classpath. So we need to import the idea plugin for this and reorder these dependencies via the scopes concept.
Tell the Test target what tests need to be launched via a selection.
tasks.withType(Test) {
    scanForTestClasses = false
    include "**/*Test.class"
}
This last modification keeps Gradle from trying to grab random class files and run them as JUnit tests.
The above is all that is required from a Gradle/Groovy perspective. With the
above configurations, Robolectric will work just fine with Config = NONE. However,
your build will need more help if you need to find resources from your actual app,
or are concerned about referencing anything in your Android manifest –e.g.,
ShadowActivities and the like. For that, you’ll need to tell Robolectric where
it can find the above.
Modified TestRunner
public class RobolectricGradleTestRunner extends RobolectricTestRunner {
  private static final String PROJECT_DIR =
    getProjectDirectory();

  private static final String MANIFEST_PROPERTY =
    PROJECT_DIR + "src/main/AndroidManifest.xml";

  private static final String RES_PROPERTY =
    PROJECT_DIR + "build/intermediates/res/develop/debug/";

  private static final int MAX_SDK_SUPPORTED_BY_ROBOLECTRIC =
    Build.VERSION_CODES.JELLY_BEAN_MR2;

  public RobolectricGradleTestRunner(final Class<?> testClass) throws Exception {
    super(testClass);
  }

  private static AndroidManifest getAndroidManifest() {
    return new AndroidManifest(
      Fs.fileFromPath(MANIFEST_PROPERTY),
      Fs.fileFromPath(RES_PROPERTY)) {
        @Override public int getTargetSdkVersion() {
          return MAX_SDK_SUPPORTED_BY_ROBOLECTRIC;
        }
    };
  }

  private static String getProjectDirectory() {
    String path = "";
    try {
      File file = new File("..");
      path = file.getCanonicalPath();
      path = path + "/app/";
    } catch (IOException ex) {}
    return path;
  }

  @Override public AndroidManifest getAppManifest(Config config) {
    return getAndroidManifest();
  }
}
The above custom test runner keeps you from having to relocate those resources and the manifest every new test you write. It also configures the target SDK version to be 18, so that Robolectric will run. Sadly, Robolectric does not work with newer target versions of the Android API. This is a known issue.